In order to configure dynamic authorization (CoA) with LANconfig, navigate to .
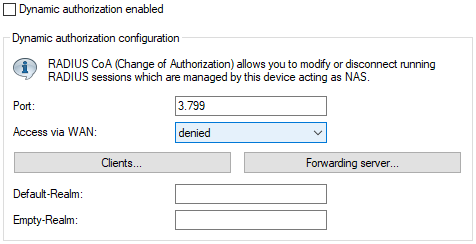
- Dynamic authorization enabled
- Activate or deactivate dynamic authorization here.
- Port
- Contains the default port where CoA messages are received.
- Access via WAN
- This entry specifies whether messages are accepted from the WAN, via VPN only, or prohibited.
- Clients
- Enter all of the CoA clients here that are permitted to send messages to the NAS.
- Forwarding server
- To forward CoA messages, the forwarding servers are specified here.
- Default realm
- This realm is used if the supplied username uses an unknown realm that is not in the list of forwarding servers.
- Empty realm
- This realm is used when the specified username does not contain a realm.
To add CoA clients for dynamic authorization, click the button Clients and add a new entry to the table.
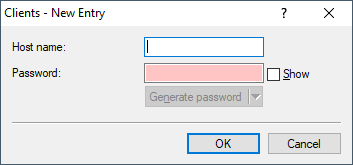
Enter a host name for the client and set a password for the client to access the NAS.
To add new forwarding servers for dynamic authorization, click the button Forwarding server and add a new entry to the table.
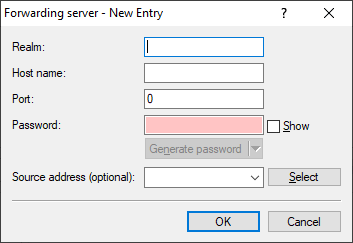
- Realm
- Here you enter the realm used by the RADIUS server to identify the forwarding destination.Note: If applicable, enter any existing forwarding servers that are specified under .
- Host name
- Specify the host name of the forwarding server.
- Port
- Specify the server port used to forward the requests.
- Password
- Set a password that is required by the client to access the RADIUS server.
- Source address (optional)
- Optionally, specify a source address.
Specify which logical WLAN interfaces should use dynamic authorization. You enable or disable them under with the checkbox RADIUS CoA activated for the appropriate interface.