The following section describes how to use WEBconfig to manage the registered Public Spot users.
Note: You need the Public Spot wizard (user management) permission, in order to manage a Public Spot account.
Note: Unsaved changes are lost once you finish this wizard.
-
Start the setup wizard by clicking on
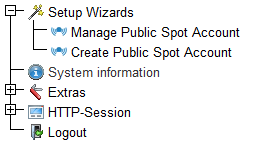
-
The Public Spot wizard starts with a list of registered Public Spot users.
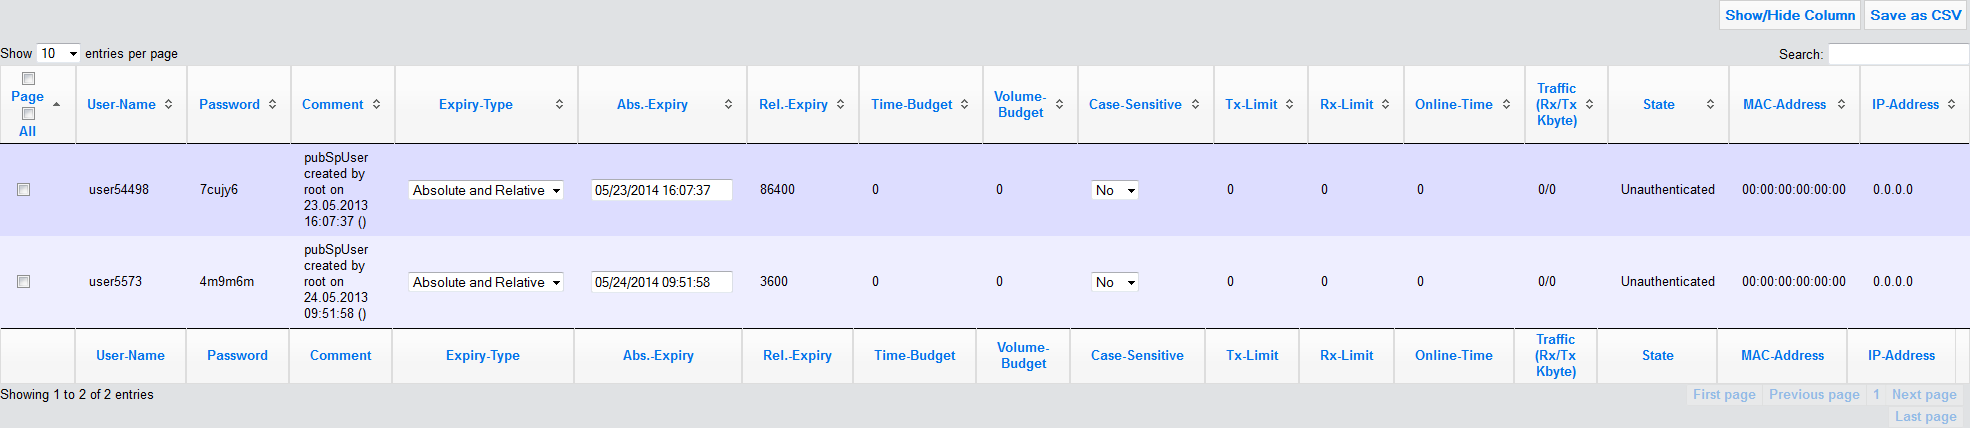
In the Show... entries per page drop-down list you set how many entries are displayed per page. The corresponding pages are accessed via the page navigation at the lower right:
- First page: Shows the page with the first entries.
- Previous page: Returns to the previous page.
- Page numbers (1, 2, 3, ...): Goes directly to the chosen page.
- Next page: Goes to the next page.
- Last page: Shows the page with the latest entries.
With Search you can filter the displayed entries. The filter immediately searches for entered strings.
You export highlighted entries with Save as CSV.
The column headers have the following meaning:
- Page/All: This column is used to select the user for the desired action (print, delete, save). To select all entries on the current page, select Page. To select all of the entries, select All.
- User name: Manually or automatically displays the username generated by the system.
- Password: Manually or automatically displays the password generated by the system.
- Comment: Includes the comment entered at registration (in brackets) and any changes to the user data (automatically documented by the system).
- Expiry type: Indicates whether the validity period of this user account is absolute (e.g. expires on a set date) or relative (expires after the time has elapsed since the first successful login).
- Abs.-Expiry: If "absolute" has been selected as the expiry type, the user account becomes invalid at the time defined in this field.
- Rel.-Expiry: If "relative" has been selected as the expiry type, the user account becomes invalid after this time period has expired since the user logged in for the first time.
- Time budget: Specifies the maximum access time for this user account. The user can use this duration of access time until a relative or absolute expiry time (if set) is reached.
- Volume budget: Specifies the maximum data volume for this user account. The user can use this data volume until a relative or absolute expiry time (if set) is reached.
- Case sensitive: Indicates whether the login page takes capitalization of the user name into account.
- Tx-Limit: If a bandwidth profile was entered for the user, this entry shows the maximum transmission bandwidth available to that user.
- Rx-Limit: If a bandwidth profile was entered for the user, this entry shows the maximum receiving bandwidth available to that user.
- Traffic (Rx/Tx Kbyte): Indicates the data volume in kilobytes that the user has received (Rx) or sent (Tx) so far.
- State: Displays the authentication status of each user, i.e. whether the user is currently logged on to the Public Spot (Authenticated) or not (Unauthenticated).
- MAC address: Indicates the physical address of the network adapter for the device with which the user is currently connected.
- IP address: This shows the IPv4 address that the system currently has allocated to the user.
The buttons at the bottom of the window have the following functions:
- Print: Print out the voucher for the selected user.
- Delete: Delete the selected user.
- Save: Save the changes.
- Back to main page: Return to the main page; all unsaved changes will be lost.
You can edit the following user information by changing the contents of the corresponding fields:
- Expiry type
- Abs.-Expiry
- Rel.-Expiry
- Case sensitive